Yet another robot car
21 Jan 2015Motivation
In my senior year of University I was programming a Darwin-Op robot. It was a really nice and fun experience. After my graduation I felt a little disappointed because I had to be separated from my first childbot :(. But after a while I found a solution: I built my own baby bot, actually two.
Having fun with robots
First, I spent some time looking where to buy the necessary robot parts. The best option I found on my budget was Aliexpress.
I bought these parts:
- 1 Arduino UNO board
- 2 Bluetooth modules
- 2 Ultrasonic sensors
- 1 Full H bridge
- 4 Line Sensors
- 4 Rechargeable Batteries 18650
- 2 Battery Holders
- Dupont wires, screws and nuts.
- 1 Caster wheel (I prefer the Spanish name: rueda loca!)
- 1 Robot car chassis
- 1 Robot tank chassis Extra:
- ChipKit Max32 board (a pretty nice gift I received while I still was at University). *** With the above parts I finally built a robot car and a robot tank. There are a lot resources about the assembling process, I might write my own guide one day.
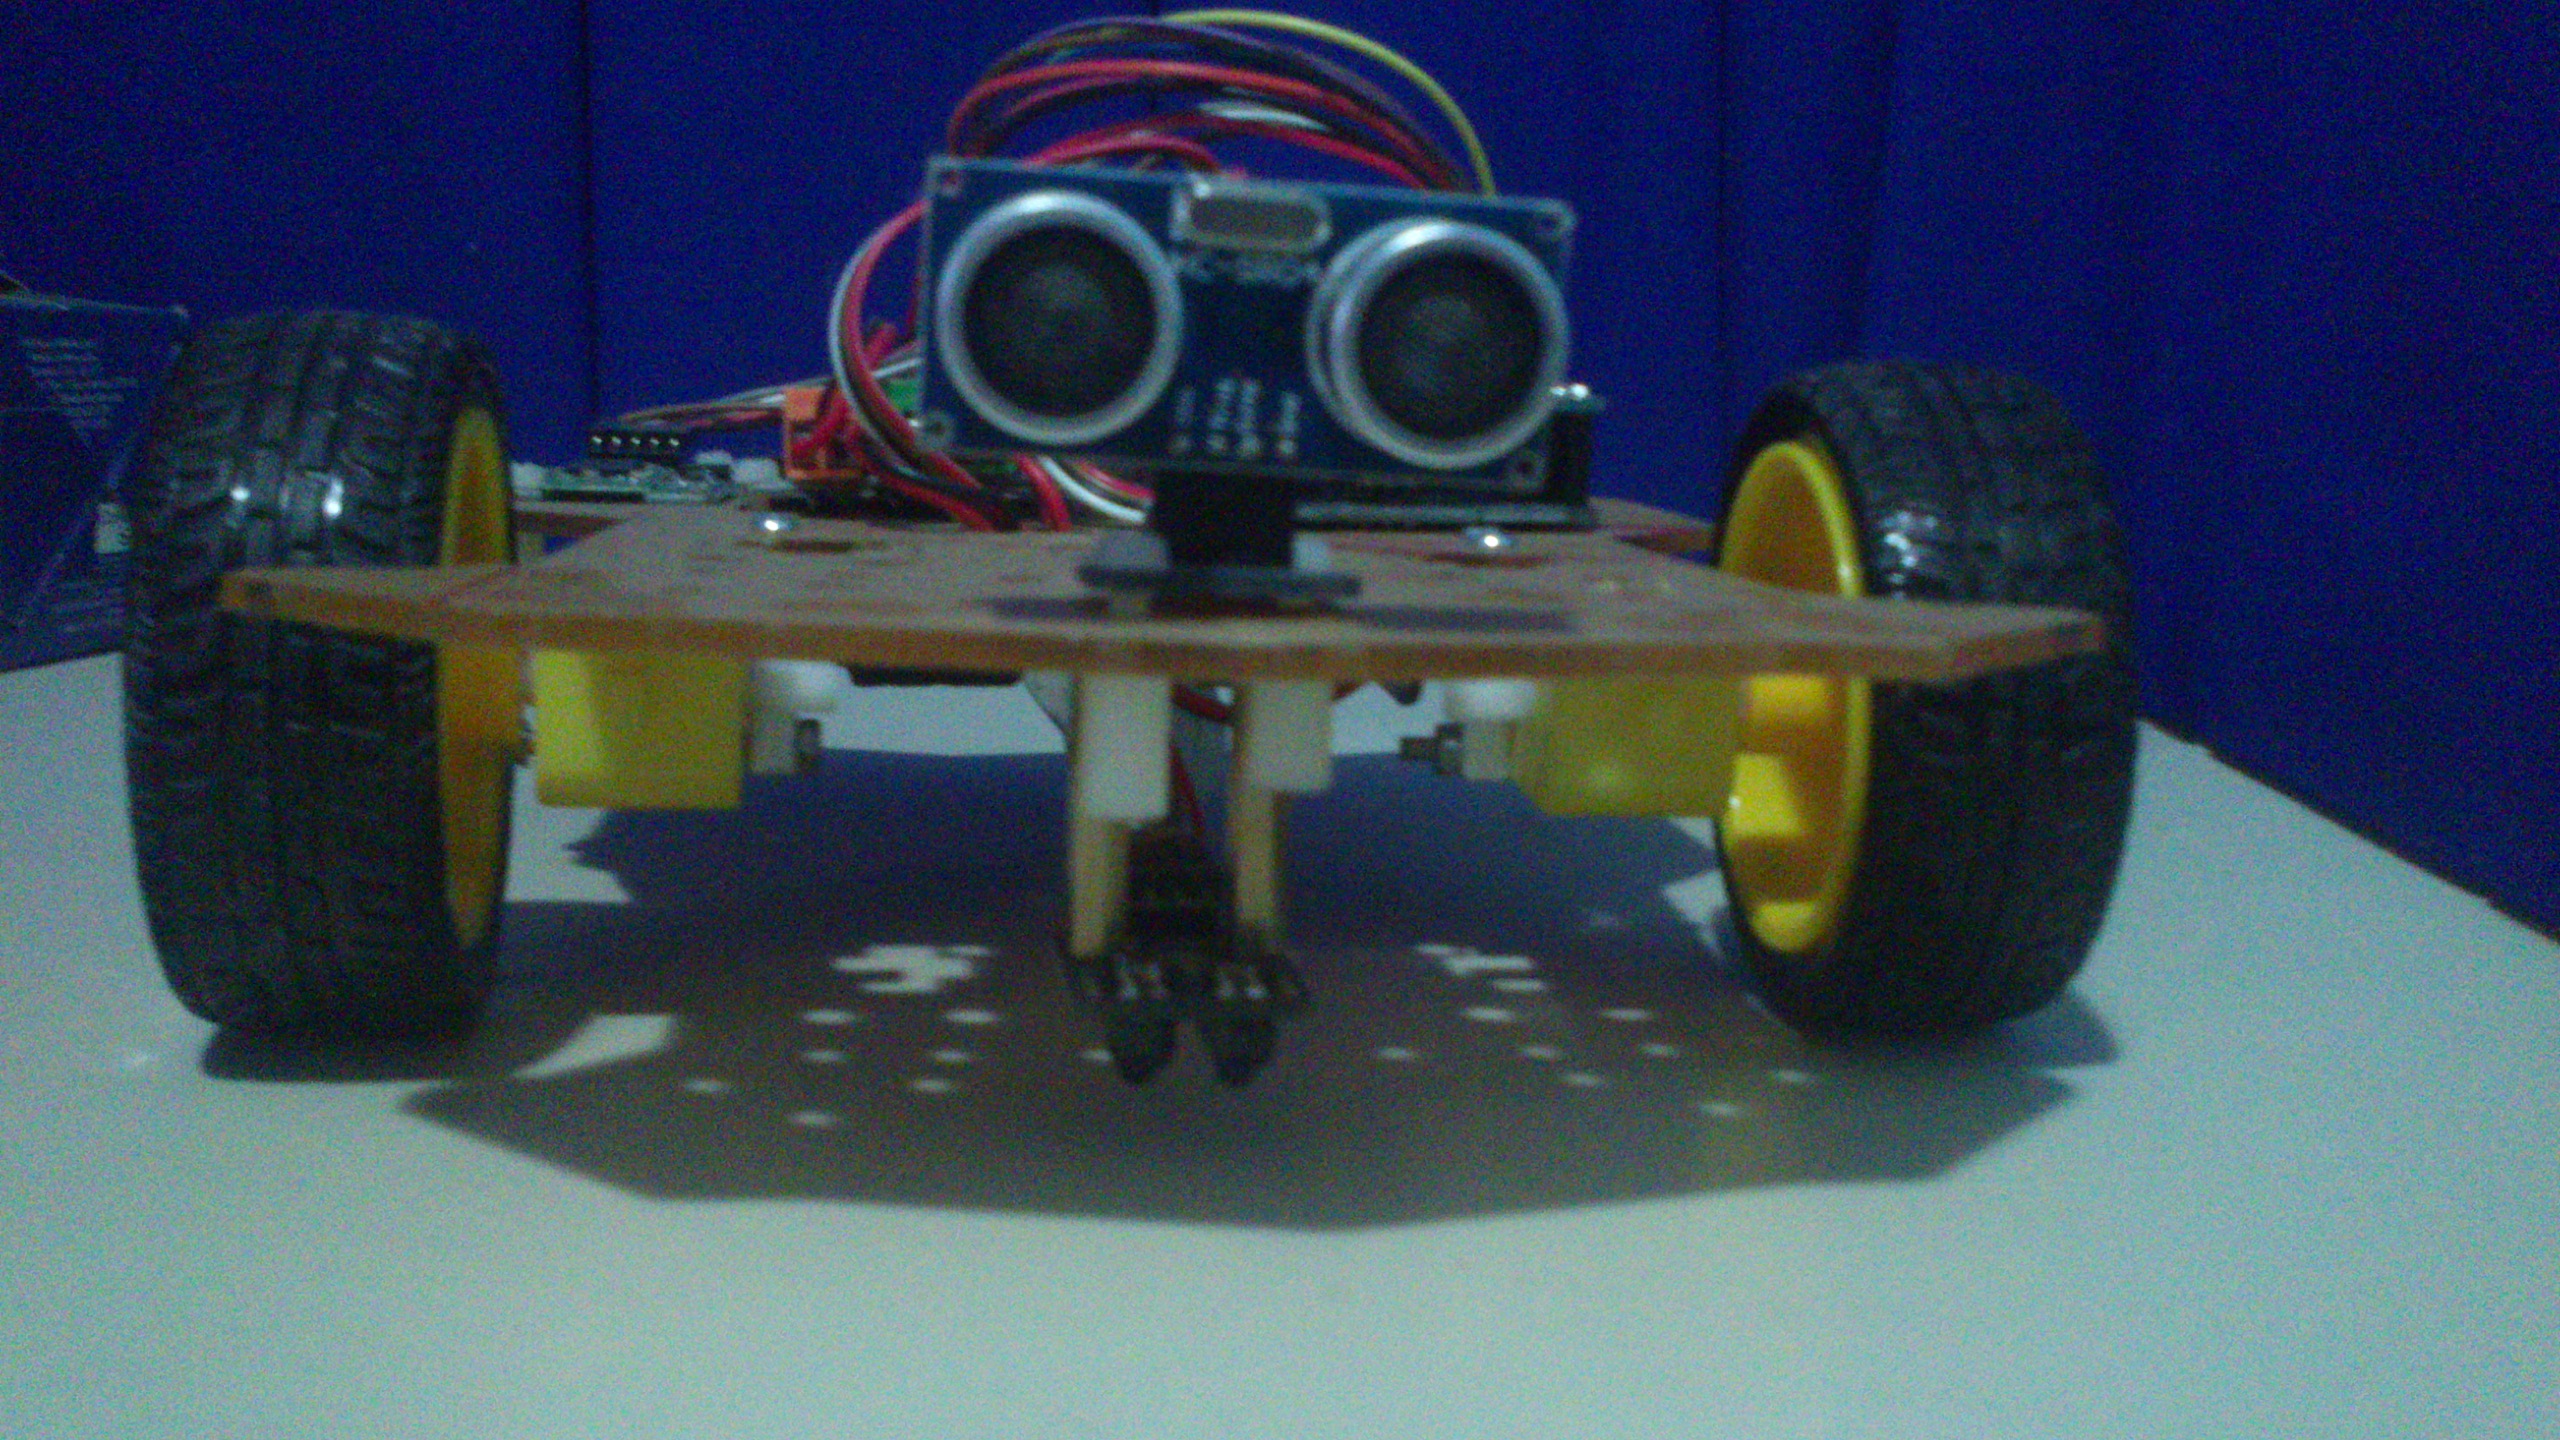
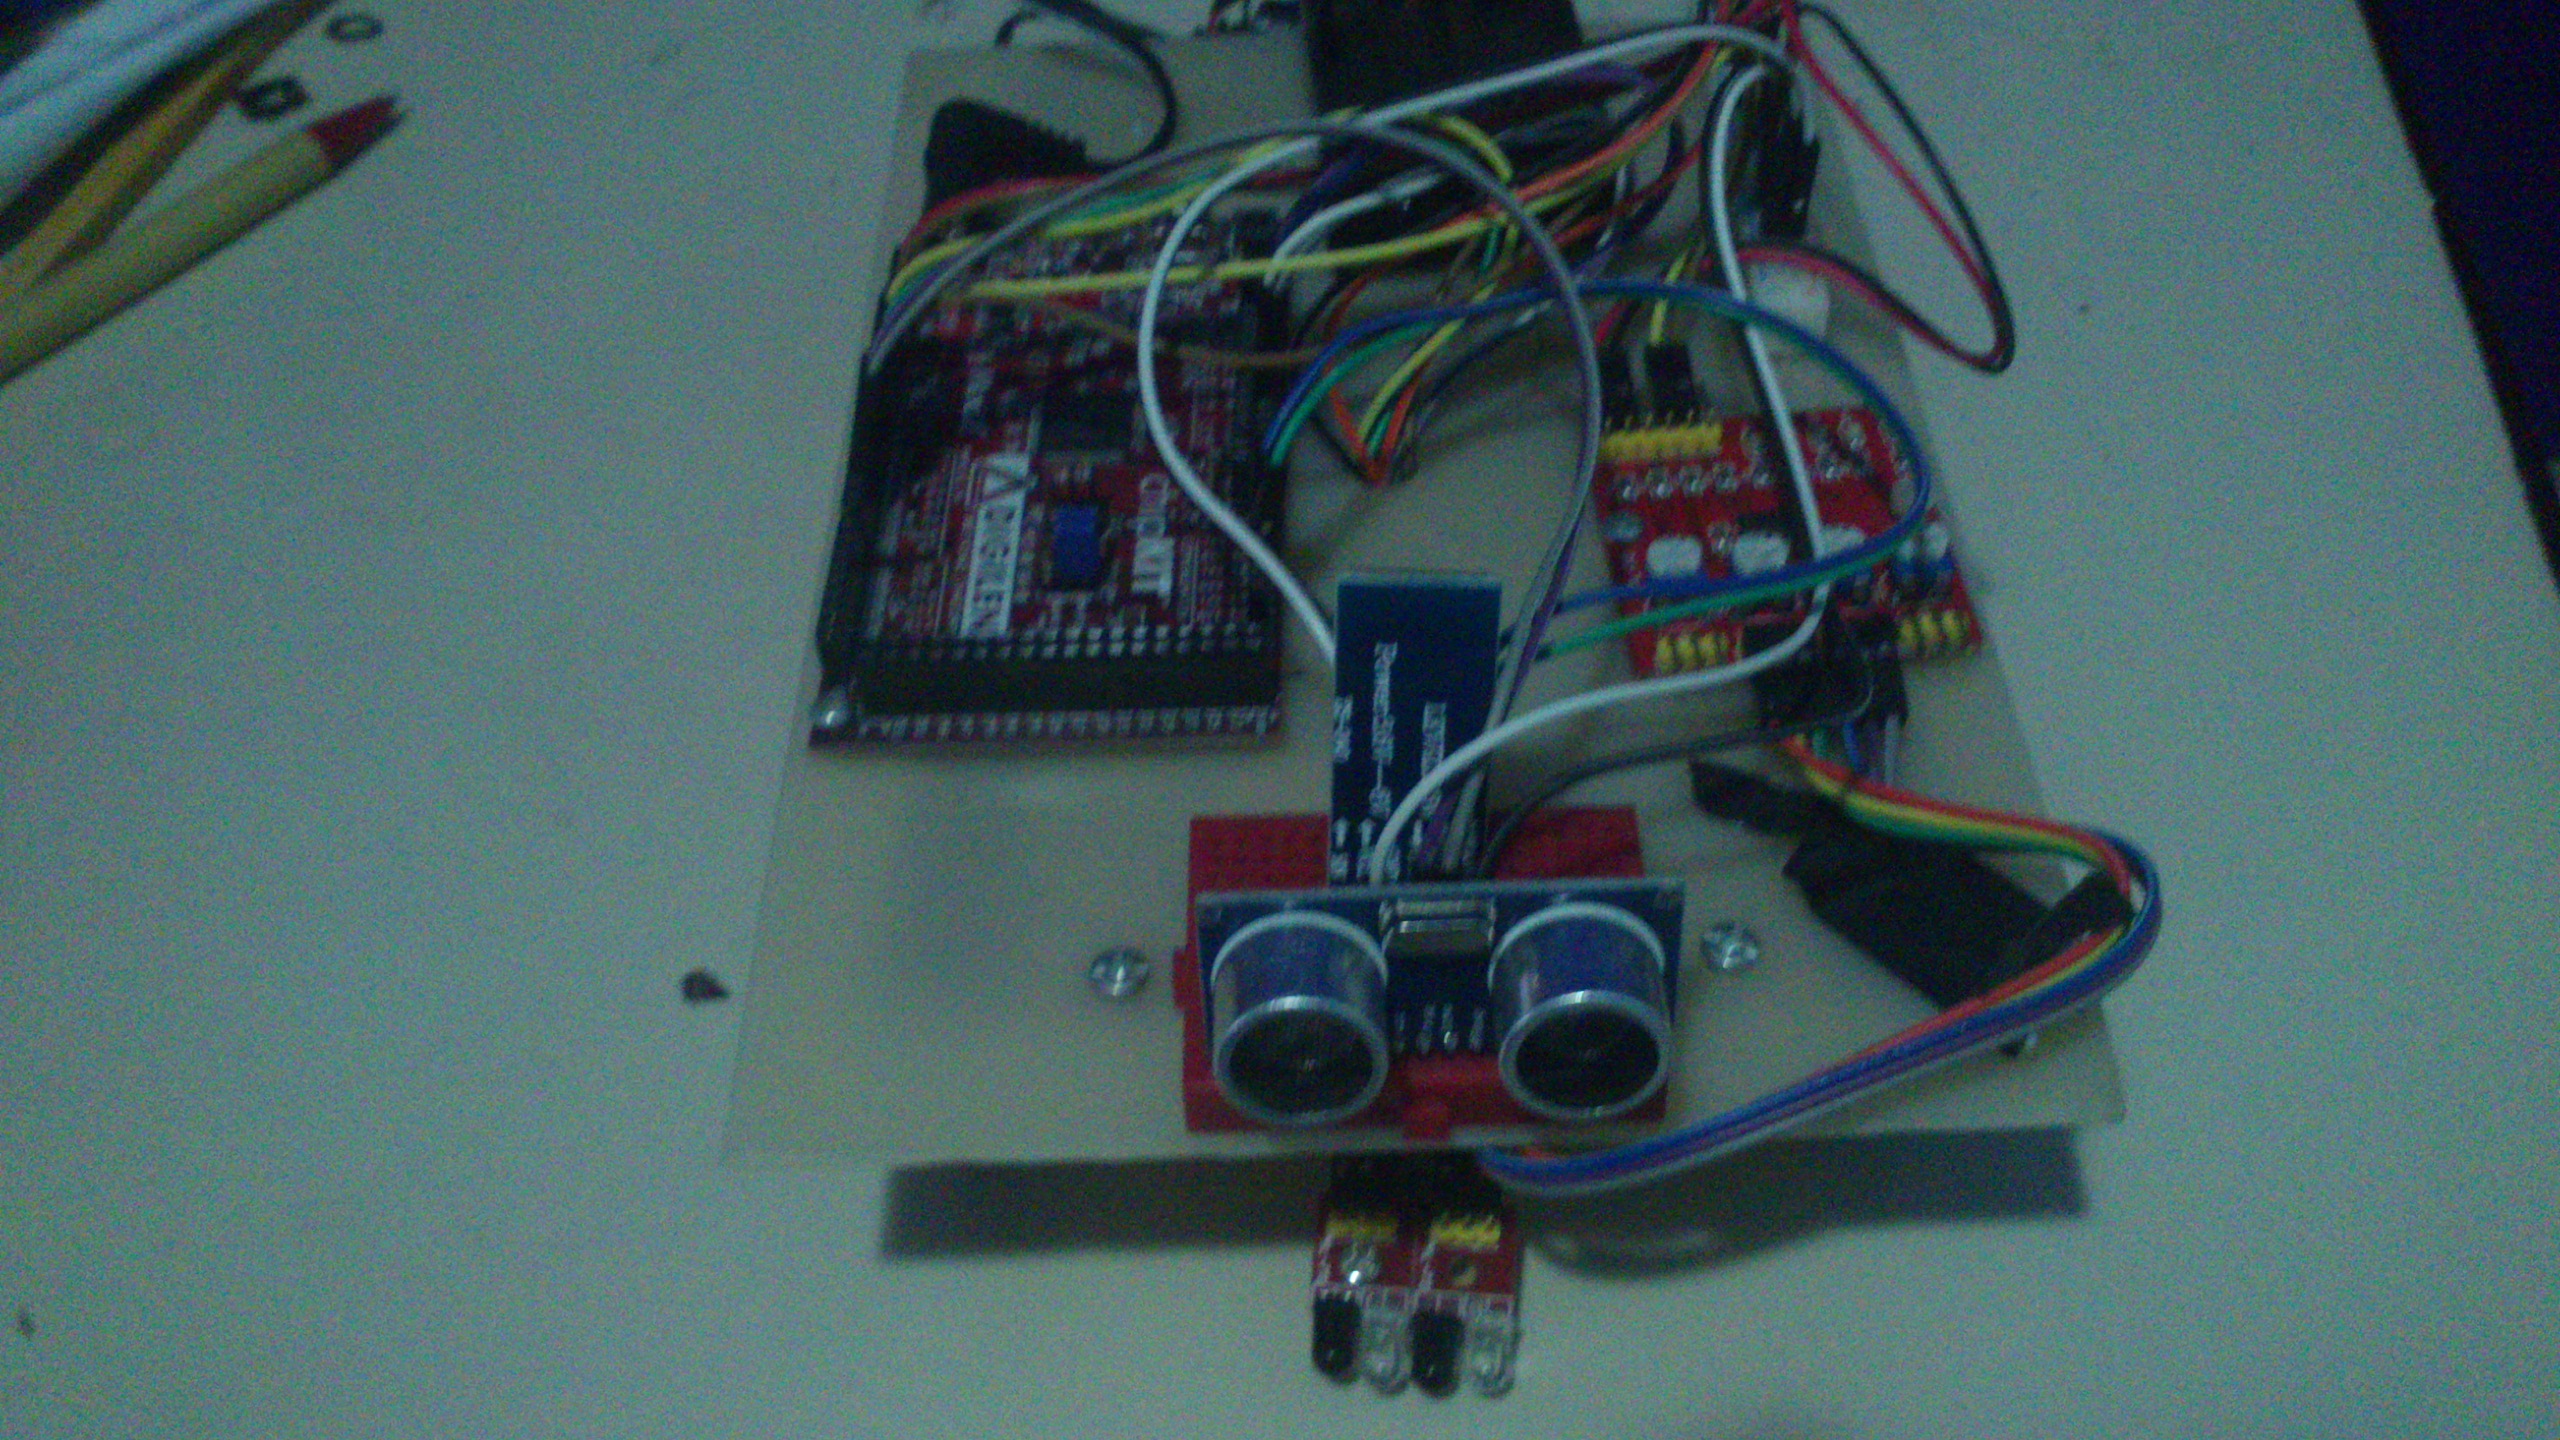
Robot car
It is controlled by the Arduino board. To watch the code that operates it, visit Robotcar-Arduino project. Video and pictures:


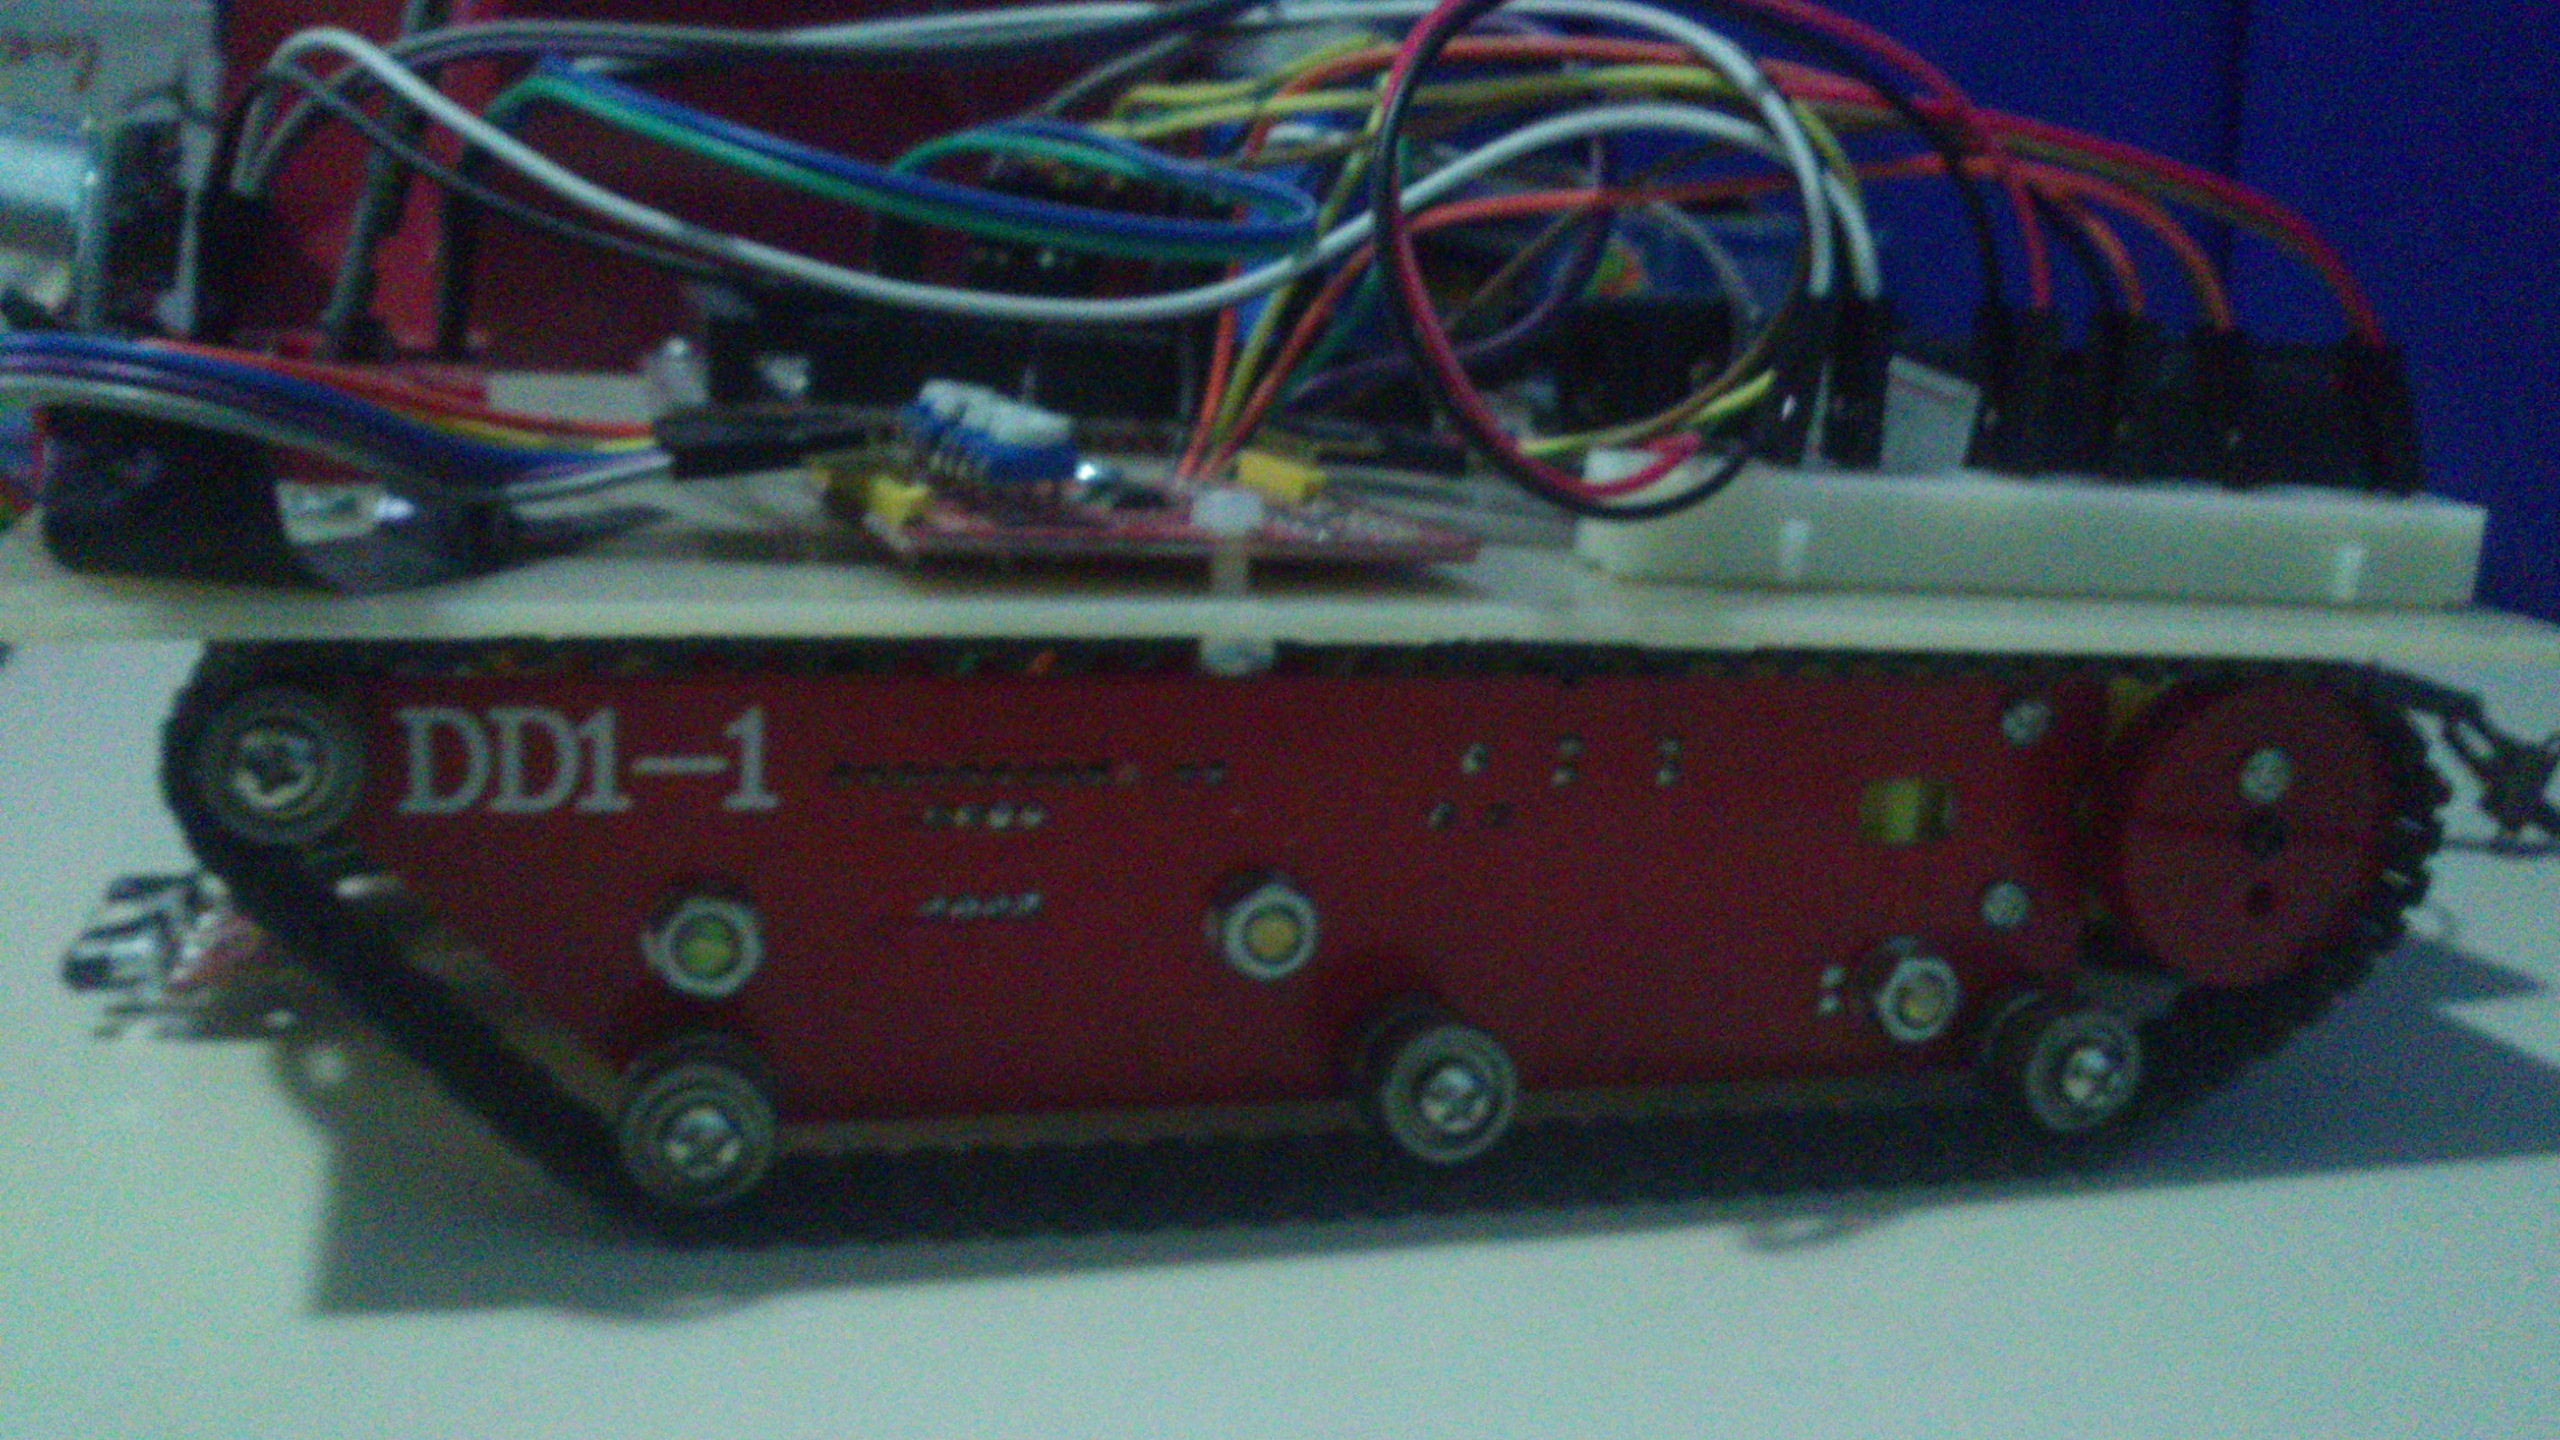
Robot tank
It is controlled by the Arduino board. To watch the code that operates it, visit Robotcar-Arduino project. The code had to be modified because Chipkit provides a very old library that lacks the functionality required by the original project. Video and pictures:
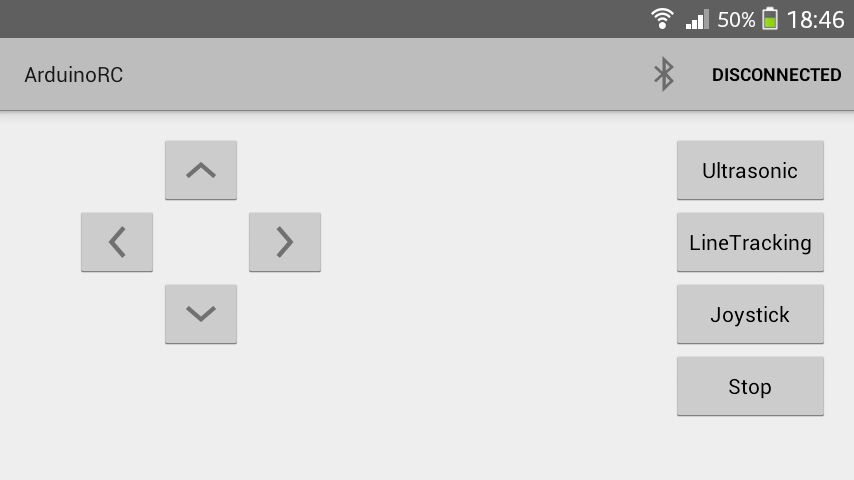
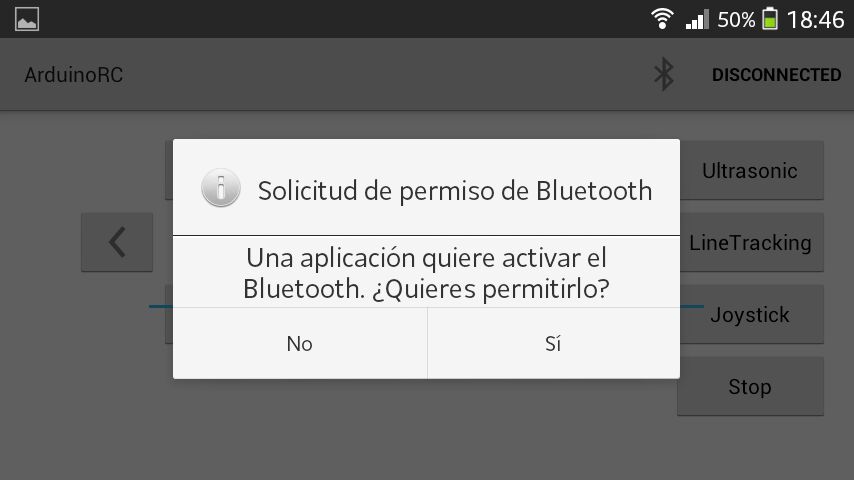
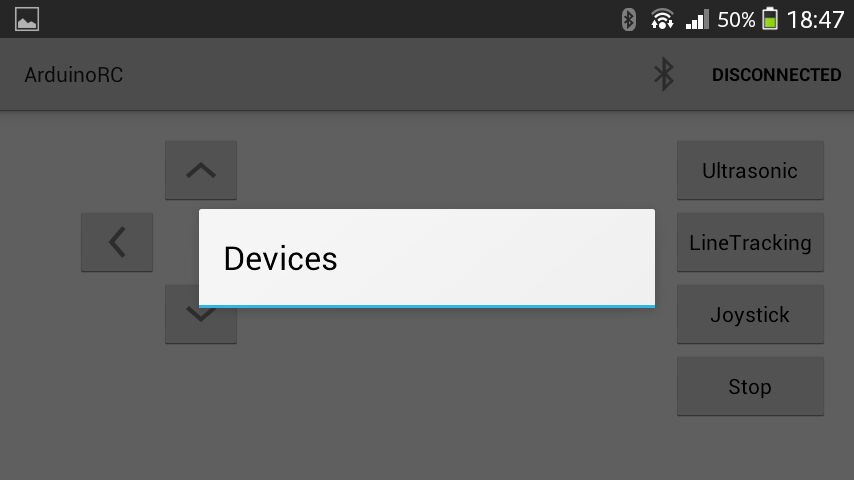
ArduinoRC
A android app that allows to control the robots over bluetooth. For more information about this project visit ArduinoRC project. Some screenshots:

Thanks for reading!